Creating and training an AI chatbot for your website has never been easier! With Brainybear, you can have your chatbot ready and embedded in just a few minutes. Follow these simple steps to get started.
Step 1: Create a Free Account on Brainybear.ai
Sign up for a free account on Brainybear.ai and start building your chatbot right away. With a free account, you’ll get 50 message credits to test your chatbot.
Step 2: Create Your First AI Assistant

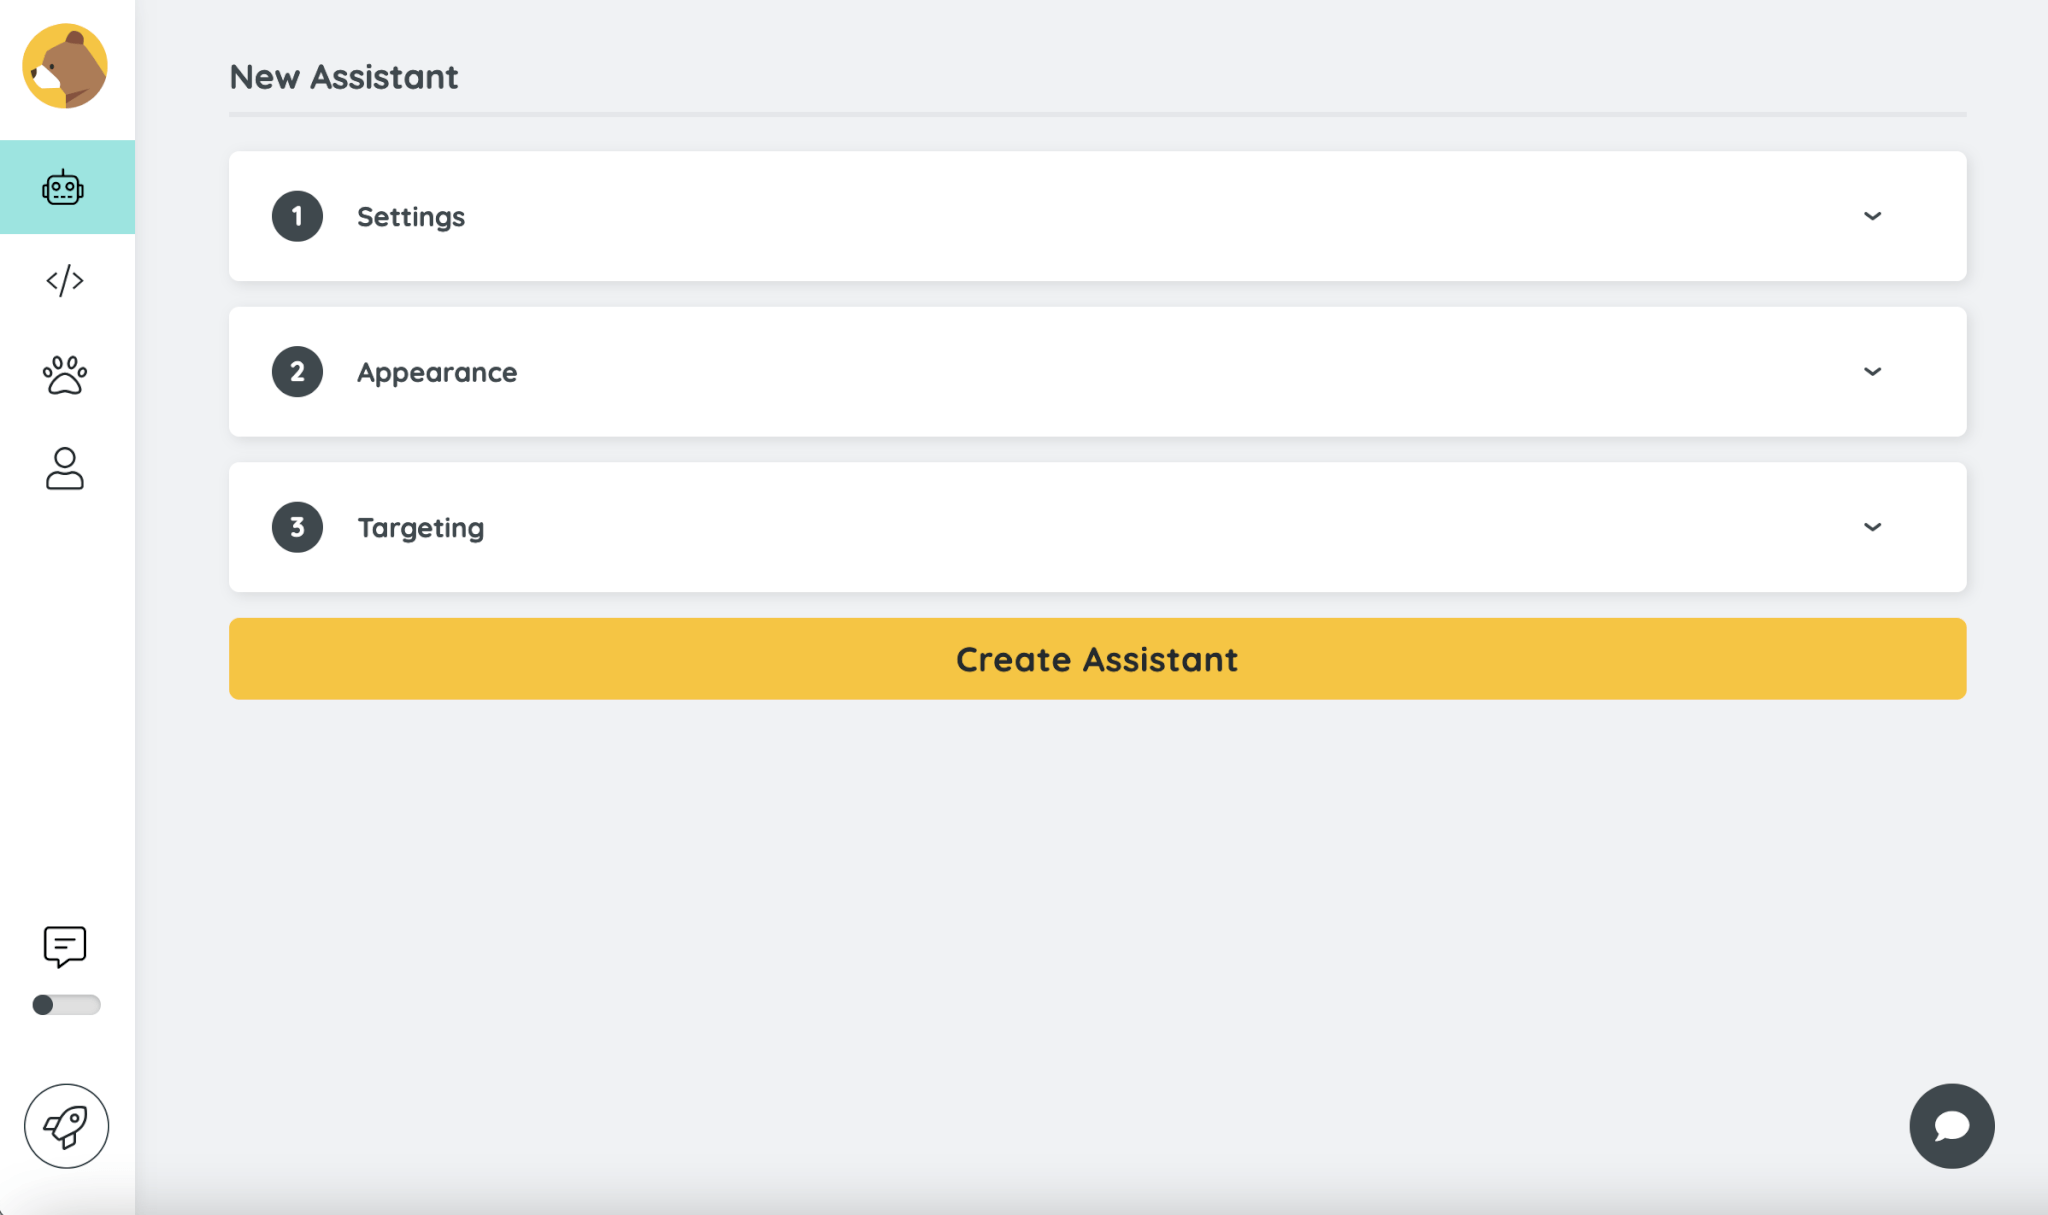
Design your assistant in 3 simple steps:
Settings: Define the basics, such as your chatbot’s name and purpose.
Appearance: Customize its look, like the chatbot logo and colors, to match your brand.
Targeting: Set who your chatbot interacts with and how it responds.
Step 3: Train Your Assistant with Knowledge

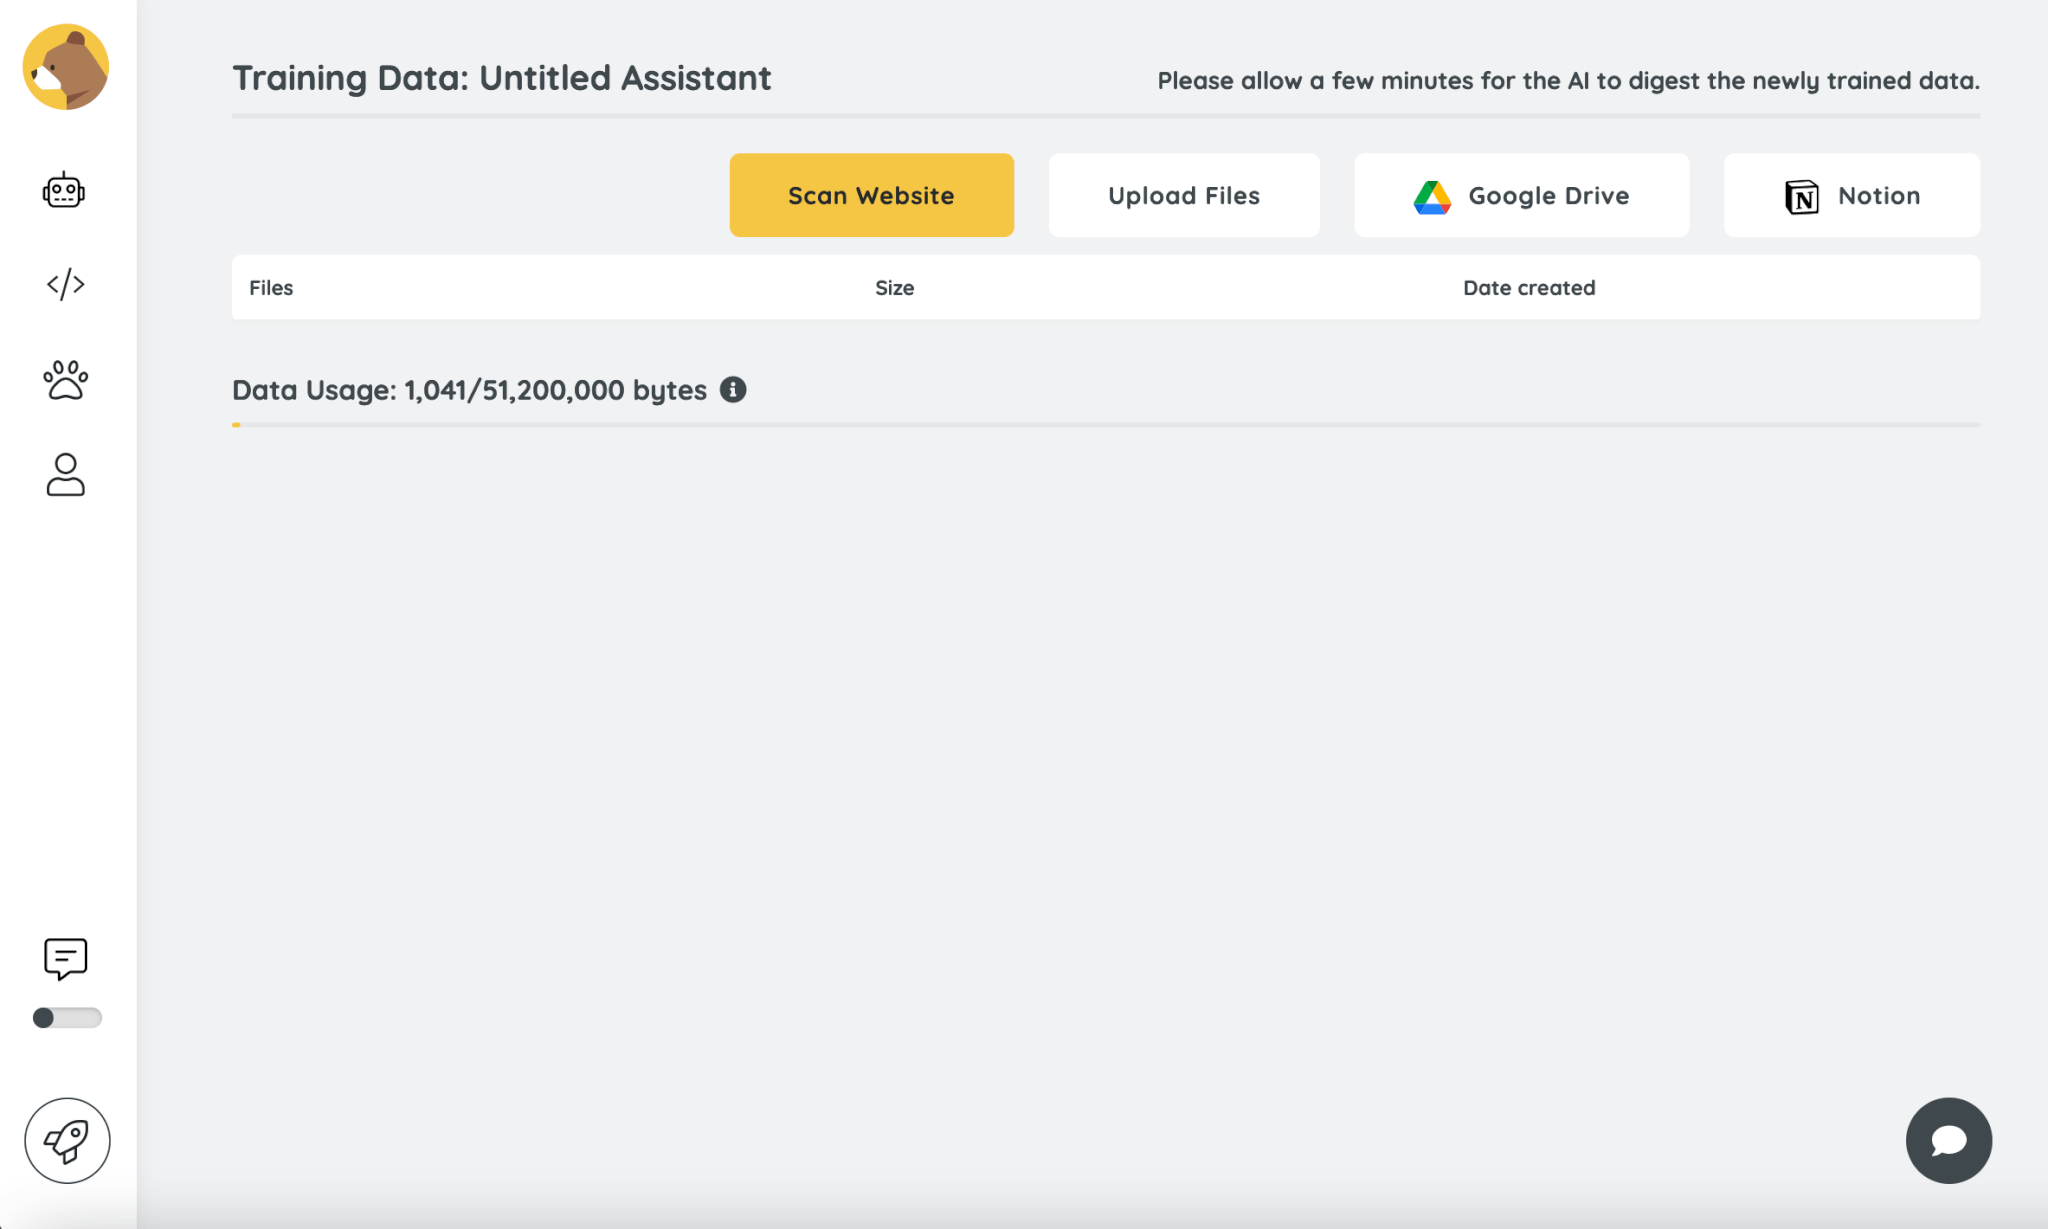
Equip your chatbot with the right knowledge:
- Website Scanning: Let Brainybear analyze your website content.
- File Uploads: Add files directly from your computer or services like Google Drive and Notion.
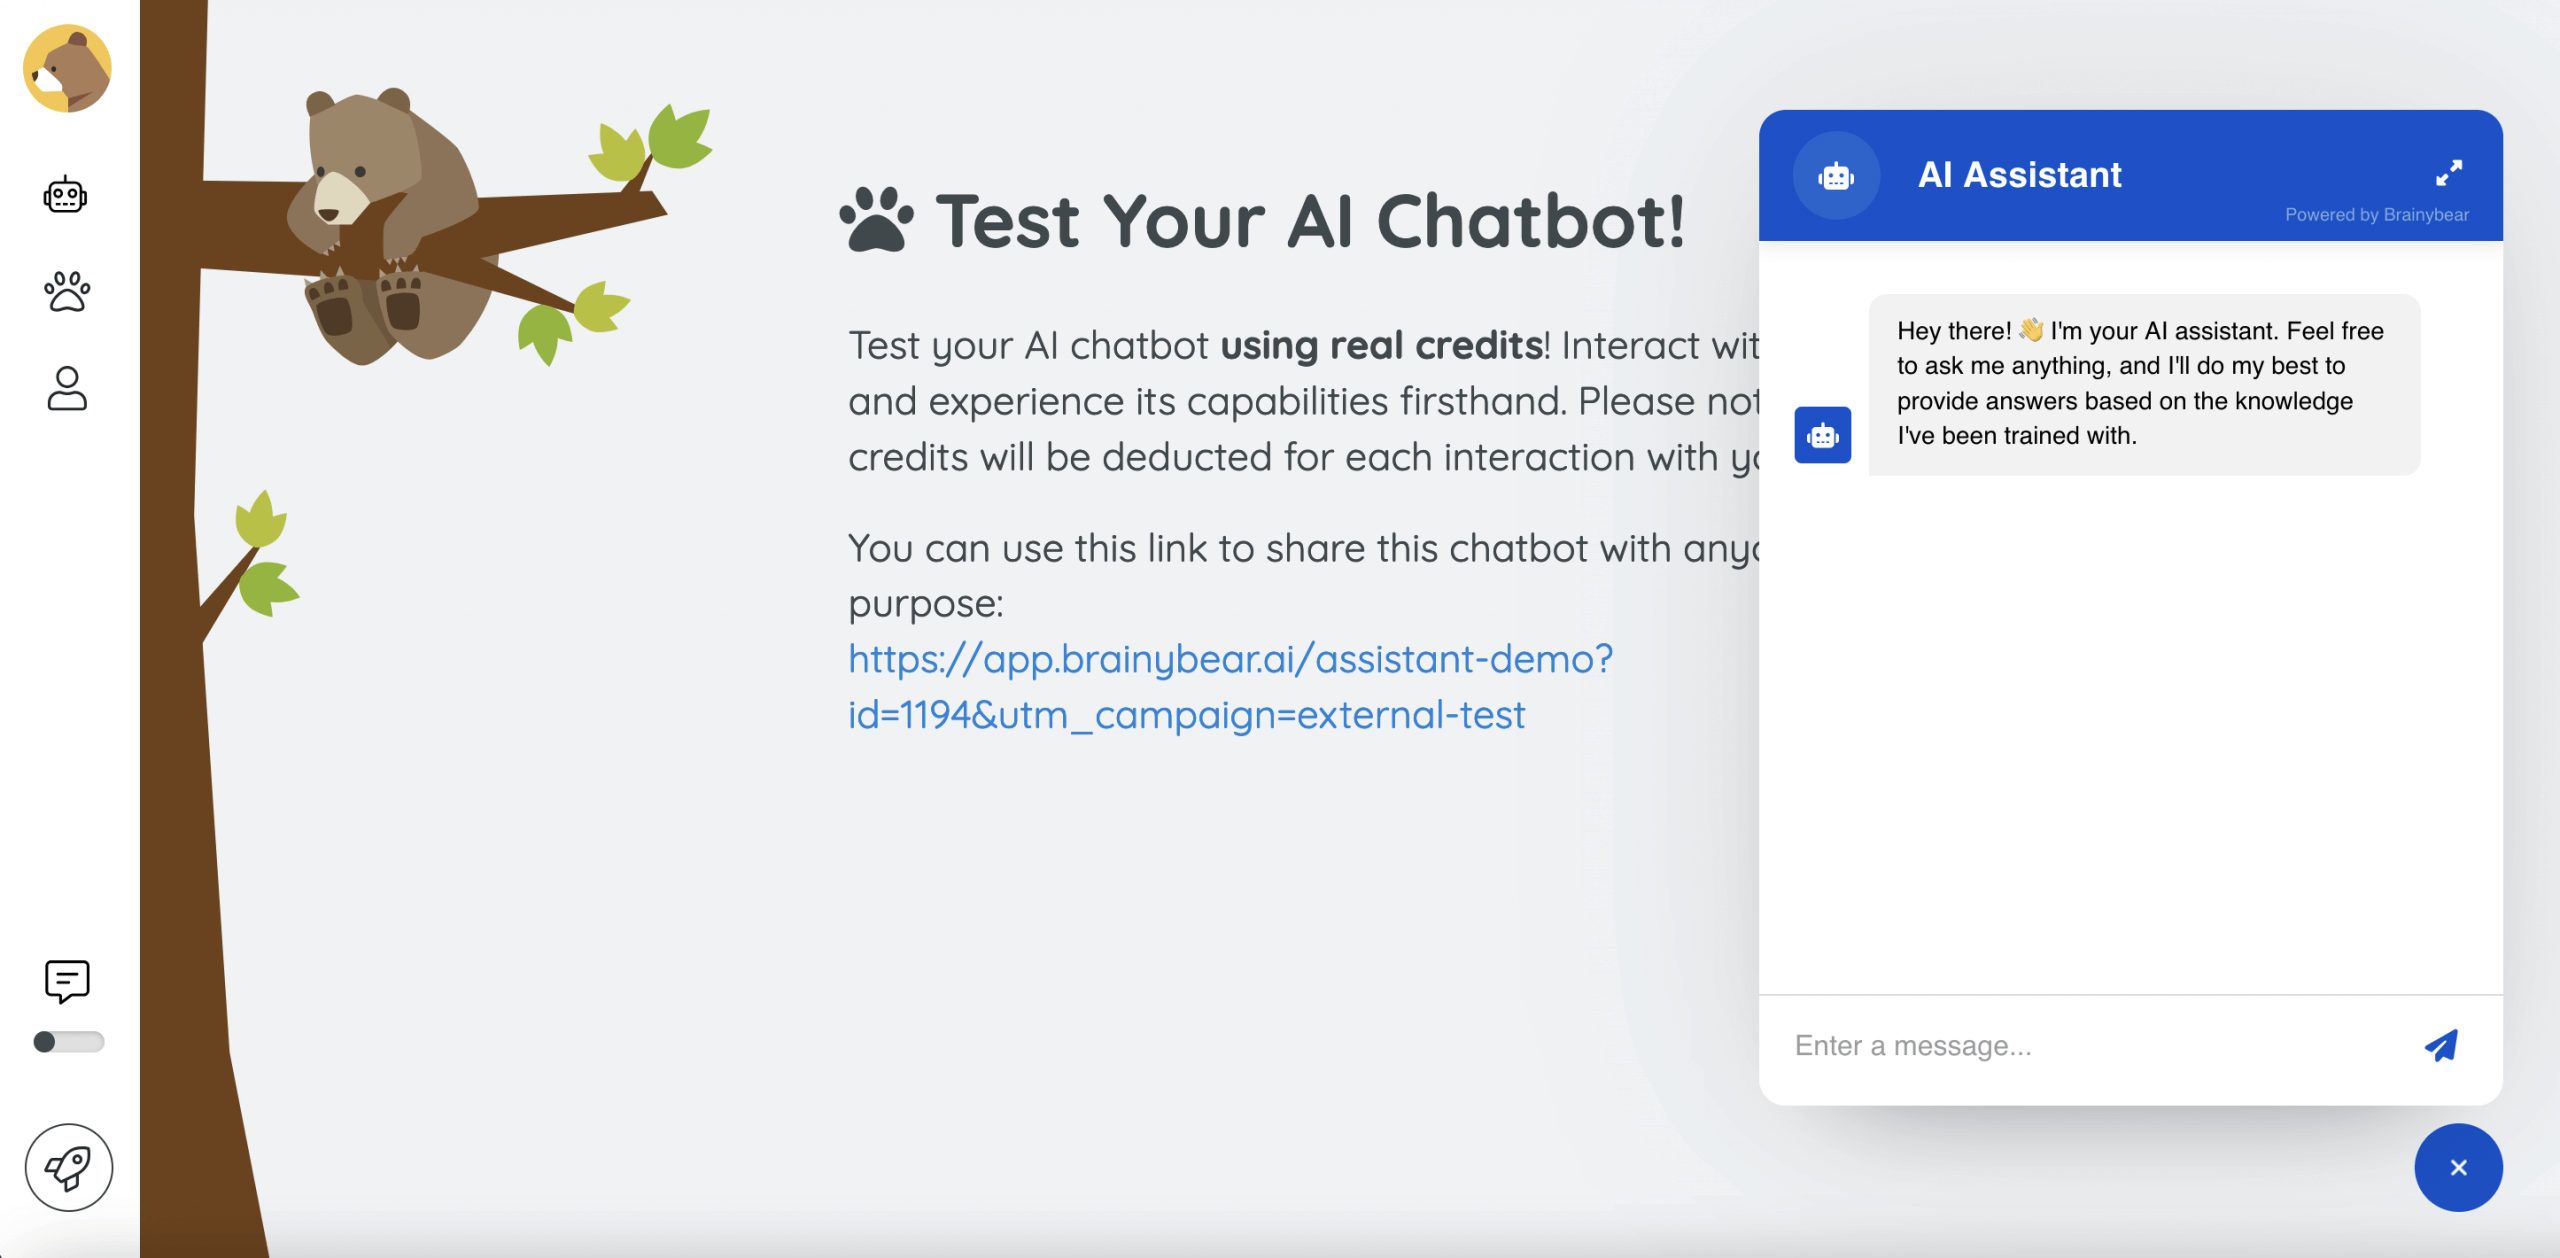
Once trained, use your free message credits to test and refine your chatbot’s responses.

Final Step: Embed Your AI Chatbot on Your Website

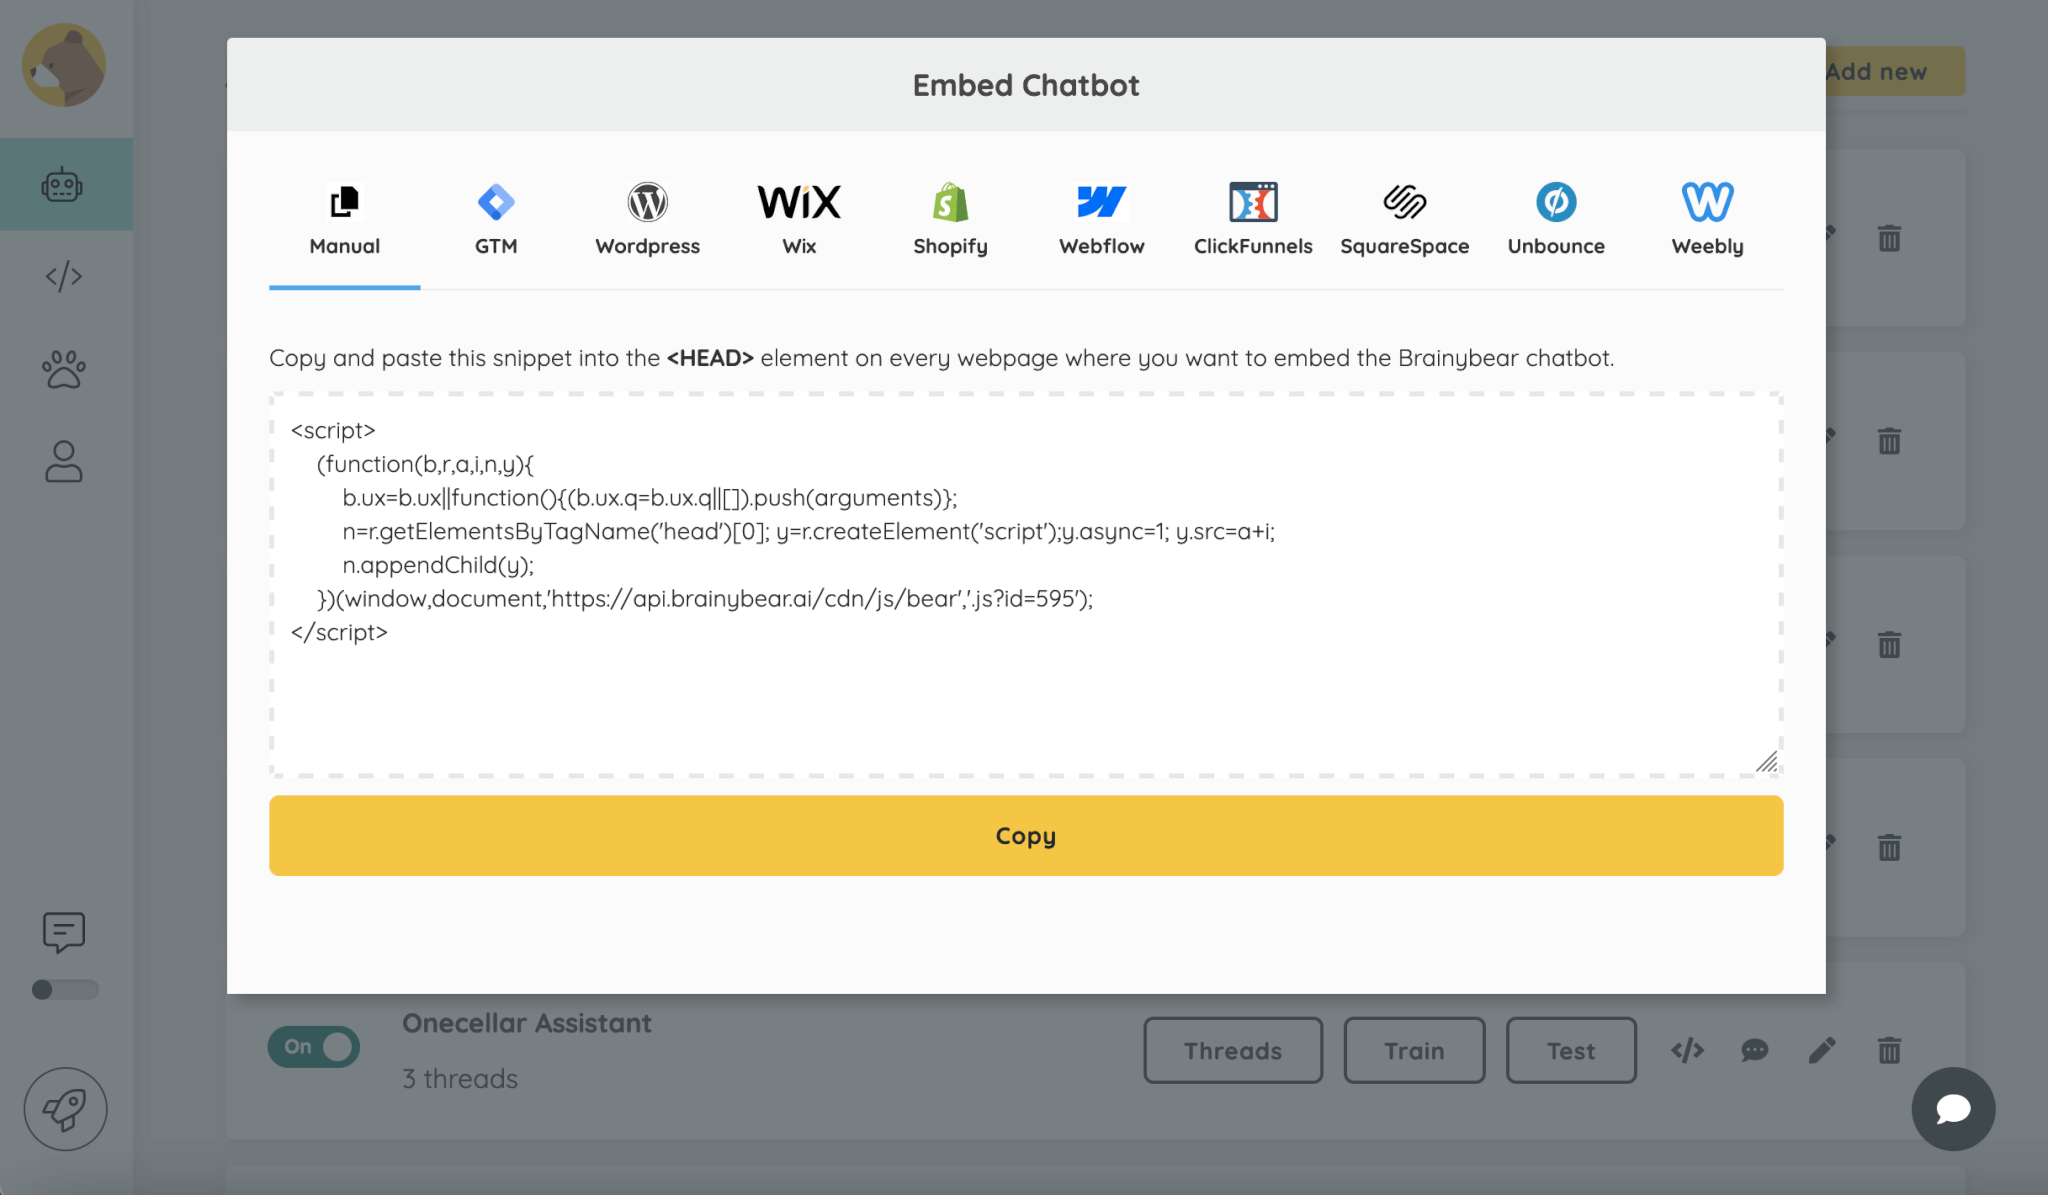
When your chatbot is ready, embedding it into your website is simple:
- Manual Option: Copy and paste the provided code snippet directly into your website’s HTML.
- Platform-Specific Guides: Install your chatbot on platforms like WordPress, Shopify, Wix, Webflow, ClickFunnels, SquareSpace, Unbounce, Weebly or Google tag manager by following our step-by-step instructions.
Start Building Your Chatbot Today!
That’s it! Your AI chatbot is now live and ready to engage with your website visitors. Whether you’re improving customer support or boosting engagement, Brainybear makes it quick and easy.
Head to Brainybear.ai and create your first chatbot today!
